Minecraft Photogrammetry
Documentation of my failure in producing an application to turn photos of Minecraft builds into downloadable files.
Updated Posted
What happened
MC Photogrammetry is a project I’ve been working off and on for about a month. The intended scope of the project was to ingest photos or videos of Minecraft and to output a copy of what’s been seen as a downloadable file.
My line of logic while making this project is that any human can replicate a Minecraft build solely from an image. However, no human would want to replicate any build because it’s slow, tedious work, which is the perfect use case for a program.
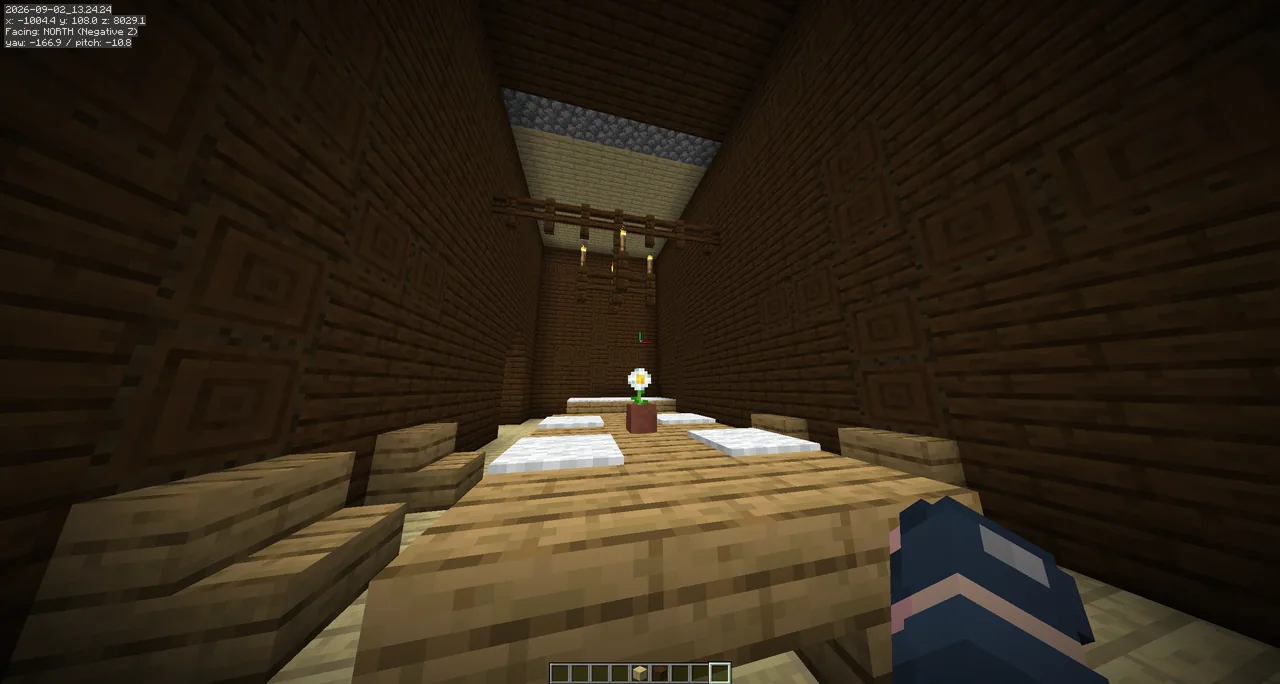
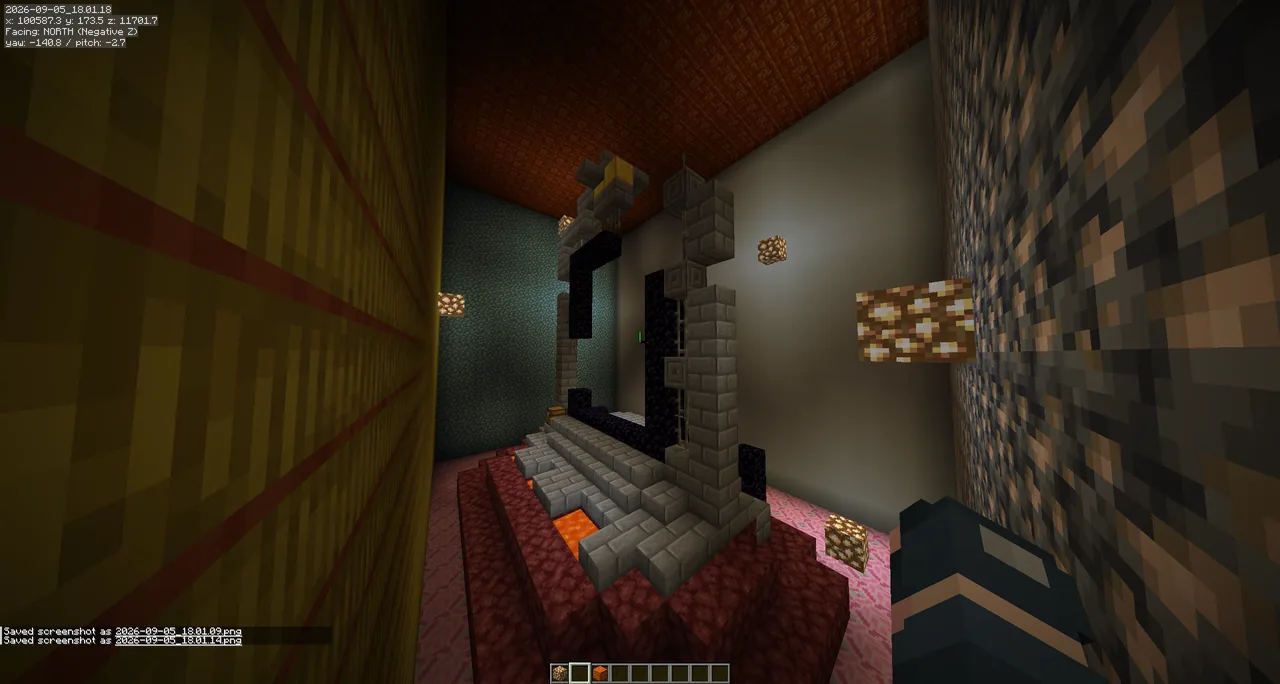
Going into the project, I thought it’d be a simple weekend project, but it actually turned out to use 7 resets of my Codex 100 plan with barely any improvement day by day. Frankly, I’m still not sure if this project is just exceptionally difficult, or if it’s a failure of my approach.
The development architecture happened in three stages. In the first week, it was me dictating logic to Claude Opus 5 directly, and it’d implement as such.
I got tired of micromanaging the project and hitting 5-hour limits, so I switched it over to Codex and set up a GPT6 instance of Astra to guide GPT5.6 Luna subagents, where I’d come and discuss approaches and recommend certain approaches that I thought would work well.
Towards the end of the project, I switched directions and started implementing various other agents. I set up a Luna 6 agent to drive the project while using Sol 6.1 subagents as the primary coders. In cases where it gets stuck, it’d call Astra subagents instead. There was, as well, a Jev API call thrown into the loop such that it’d help choose the best approach or which agent to call.
Finally, I also allowed the Luna agent to call DeepSeek 4.1 Flash via command line. Doing things this way stretched my Codex usage by about 24 hours or so, which is a pretty meaningful difference. I imagine a more “professional” version of this architecture already exists in frontier AI labs because you don’t really need a strong agent for every task.
How it’s intended to work
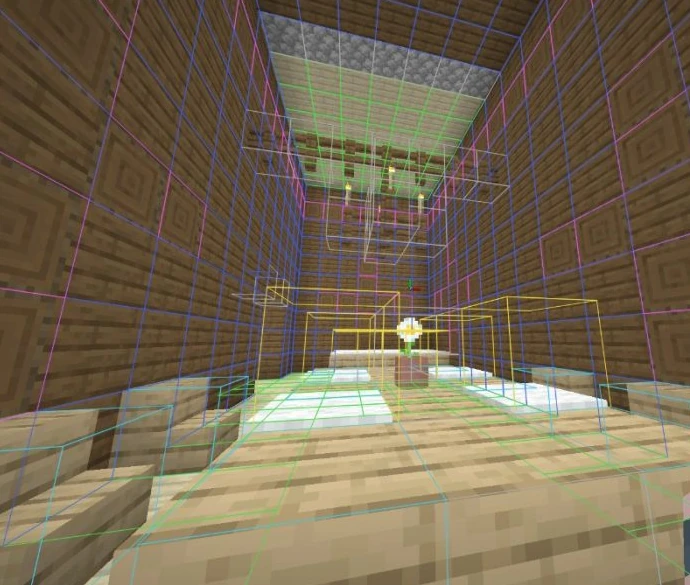
The actual logic in the project comes in multiple forms. Firstly, the project has a basic simulation embedded into itself. This allows the project to compare what it’s generated to the actual build in screenshots to see how closely it matches.
It builds this simulation first by trying to detect block edges relative to the screenshot taker. Because everything in Minecraft happens on an orthogonal grid, we can know every single block’s position if we know at least one position, because we can calculate their position relative to the other blocks.
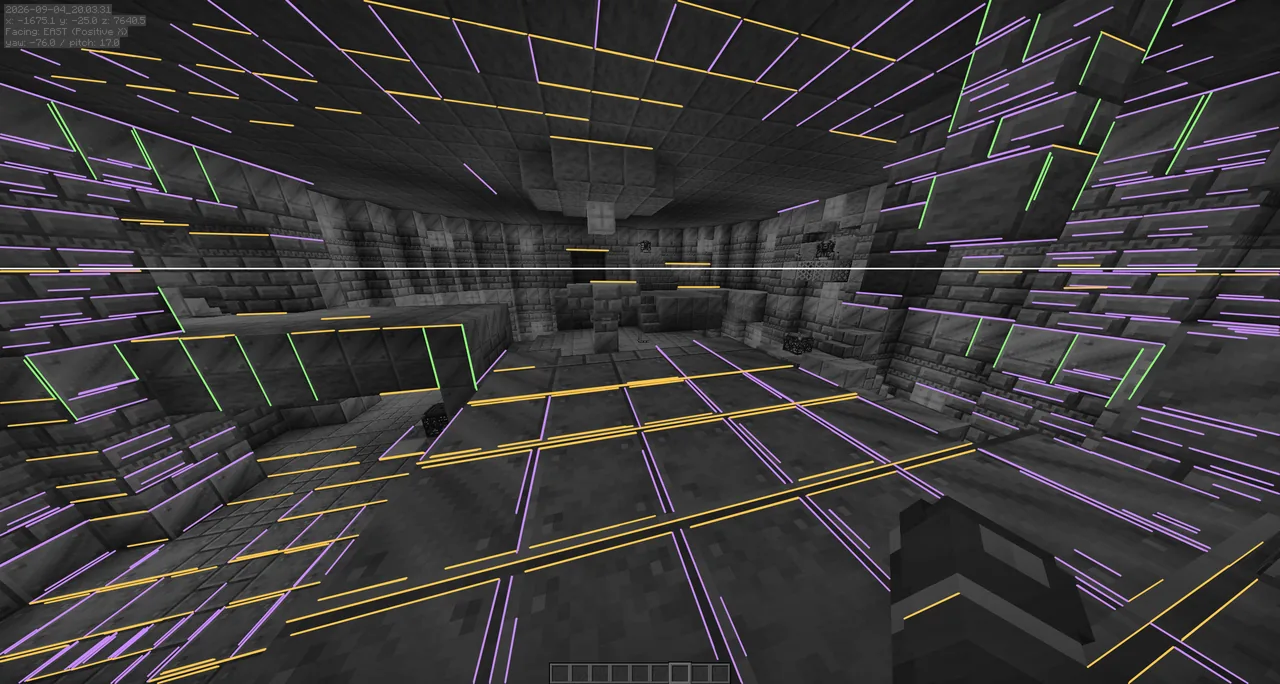
If multiple screenshots or video is present, it runs an algorithm to try and detect where and if two builds overlap, and when they do, they will reconcile where geometry is located, with preference given to that which can see the geometry better.
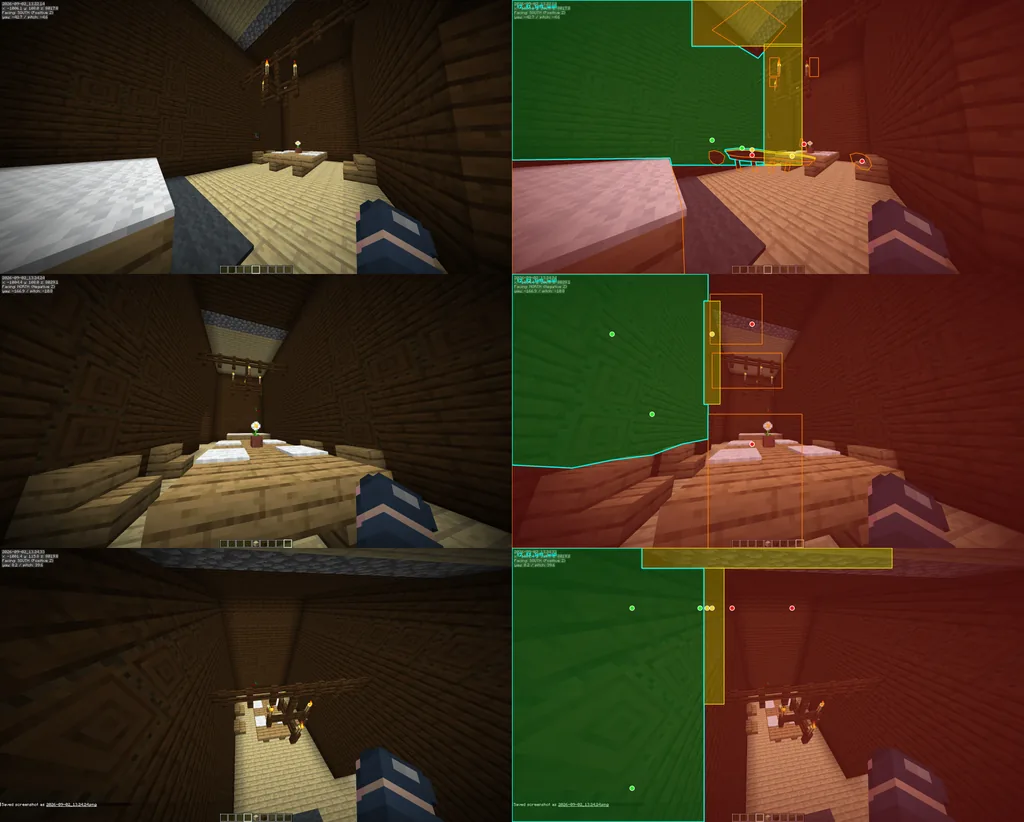
Once the geometry is detected and reconciled, it then looks at the shading on the project to detect where light sources are likely to be located. The reasoning for this is that by knowing where light sources are located, even if they are not directly visible (such as being underneath a carpet), it allows the program to adjust the textures in the photo to a fullbright setting such that their natural texture is shown.
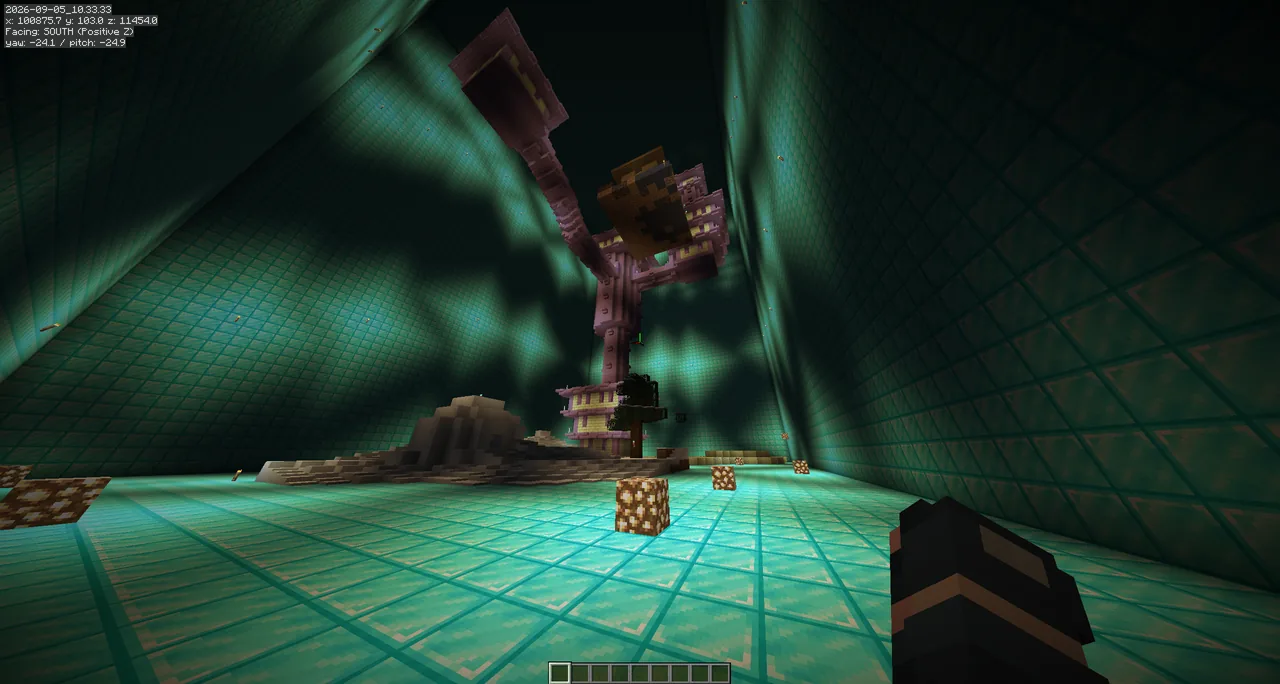
Once all of this is done, the program will place a camera at the relative position of the render such that it will paint each block in the screenshot onto the render. By painting this texture onto the render, we now know the relative position of that texture to the camera, and can adjust this into a flat plane facing the camera. Finally, we can apply an image recognition software to detect what texture this block is.
Once we’ve got a simulation of the entire build, we then cross reference our simulation to the original screenshot to detect the difference between the simulation and the screenshot and find where there is likely a mismatch between blocks, geometry, or shading.
To train the image recognition software, I made a post-training setup such that it will generate various worlds in Minecraft, take a litematic of an area, and then take various screenshots inside that area to give exact error when it messes up. This provides a significant amount of data with which to train it on various textures and geometry.
Why it failed
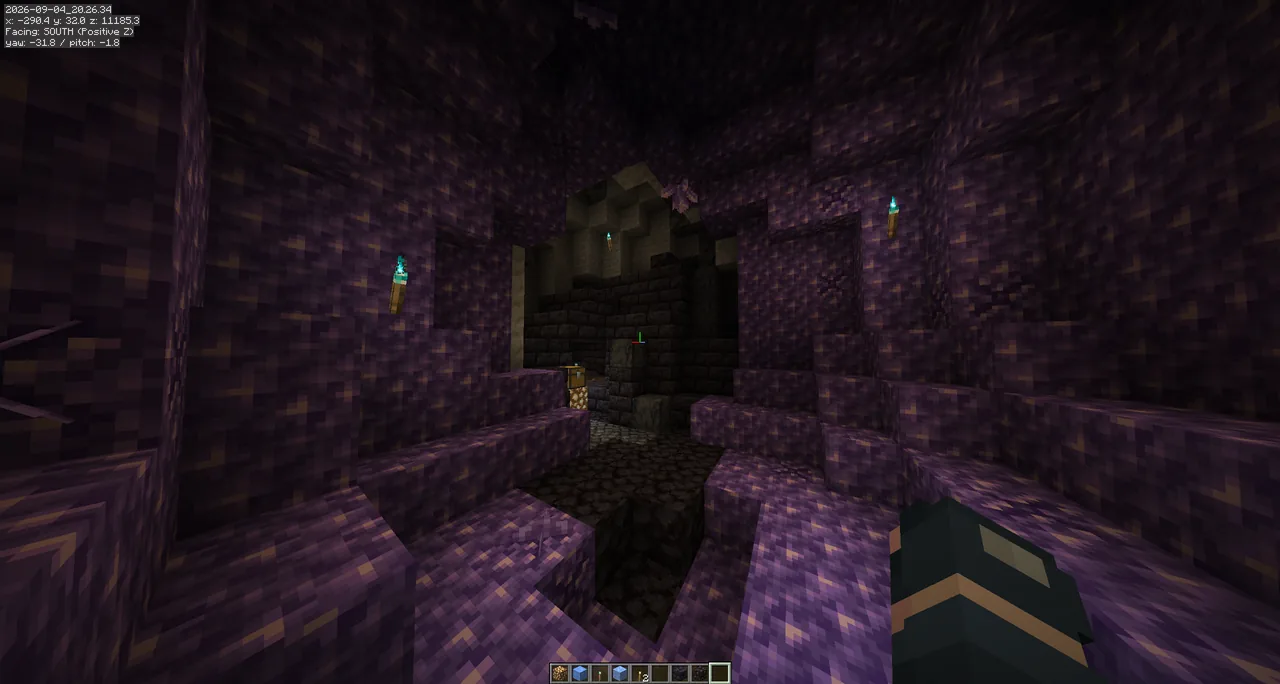
In general, the project starts to fall apart when it’s not run in small, bounded rooms. It’s very slow, taking over 7 hours to recreate larger builds of about 1 million blocks. As well, if it’s run outside, it completely fails to finish because it has to reconcile millions of blocks at a time.
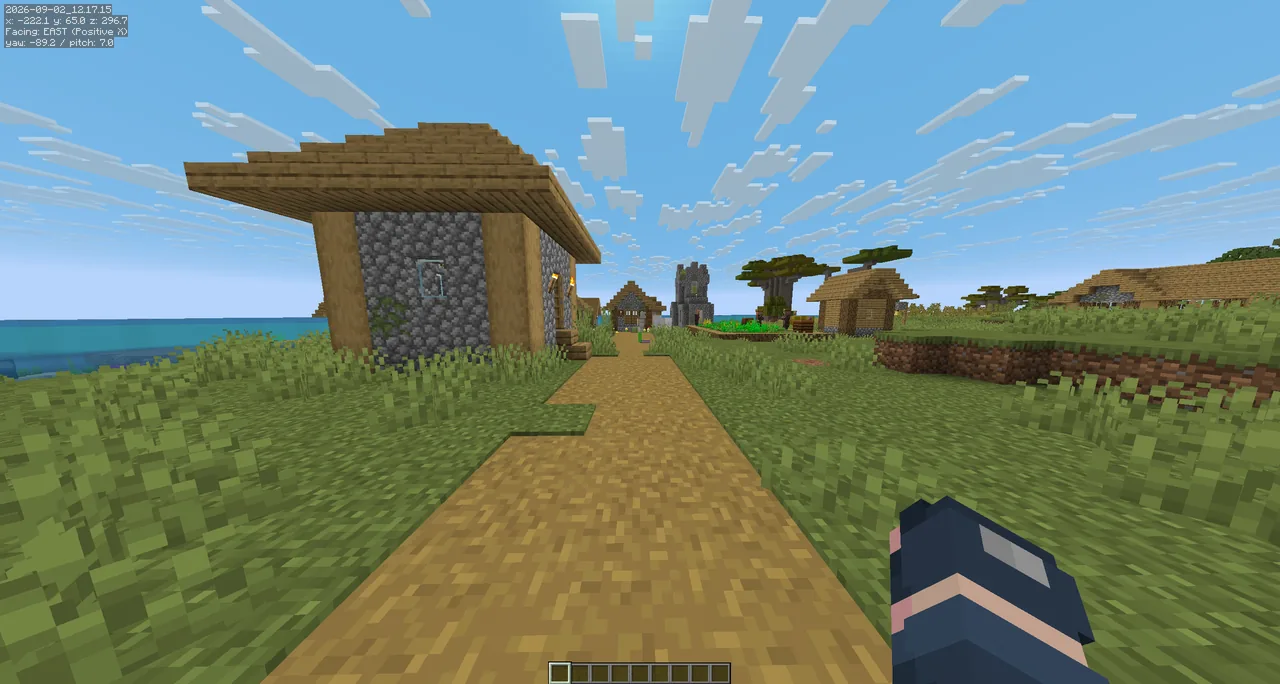
The original intent of this project was to support modded blocks and textures as well as shaders, but the project never got to that point. Currently, in small rooms, it replicates the geometry at about 80% accuracy.
I think the project does have a future; however, I’ve spent far too much time working on this project and it’s gotten out of hand. I think in the future, if I come back to this project, I’ll take an approach similar to that one project that ingests photos and makes it into a 3D model in Blender. I’ve released the code on my GitHub, in case you’d like to take a shot at this project.